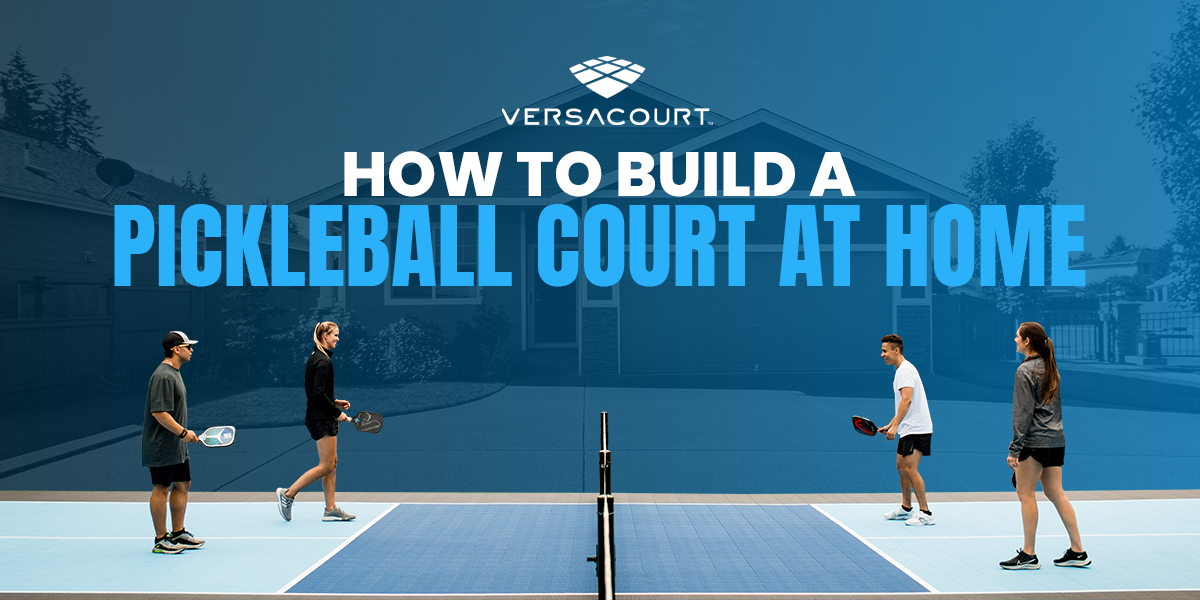
Pickleball is one of the fastest-growing sports in the country, and more players are looking for ways to enjoy it without having to visit a public court. If you’re passionate about pickleball, why not build your own home court?
Whether you’ve got the backyard space or a concrete driveway, having a pickleball court can elevate your game and give you endless hours of entertainment.
In this guide, we'll walk you through each step of the process, from planning the space to adding the final touches.
Step 1: Plan and Measure the Space
The first step is all about planning. You need to find the right spot, measure it properly, and decide whether you’re going for a temporary setup or a permanent one.
How much space do you need?
- Official court dimensions: A standard pickleball court is 20 feet wide and 44 feet long.
- Total area: You should account for extra room around the court—10 feet beyond the baselines and 5 feet beyond the sidelines for player movement. Ideally, you’re looking for a space of about 30 by 64 feet.
If space is tight, you can always scale back a bit on the surrounding area, but keep the playing court itself regulation size for an authentic experience.
Step 2: Prepare the Surface
Now that your space is ready, the next step is choosing the right surface. Here are your options:
- Concrete or asphalt: These are the most durable surfaces and offer excellent ball bounce. However, they require a bit more prep and installation cost.
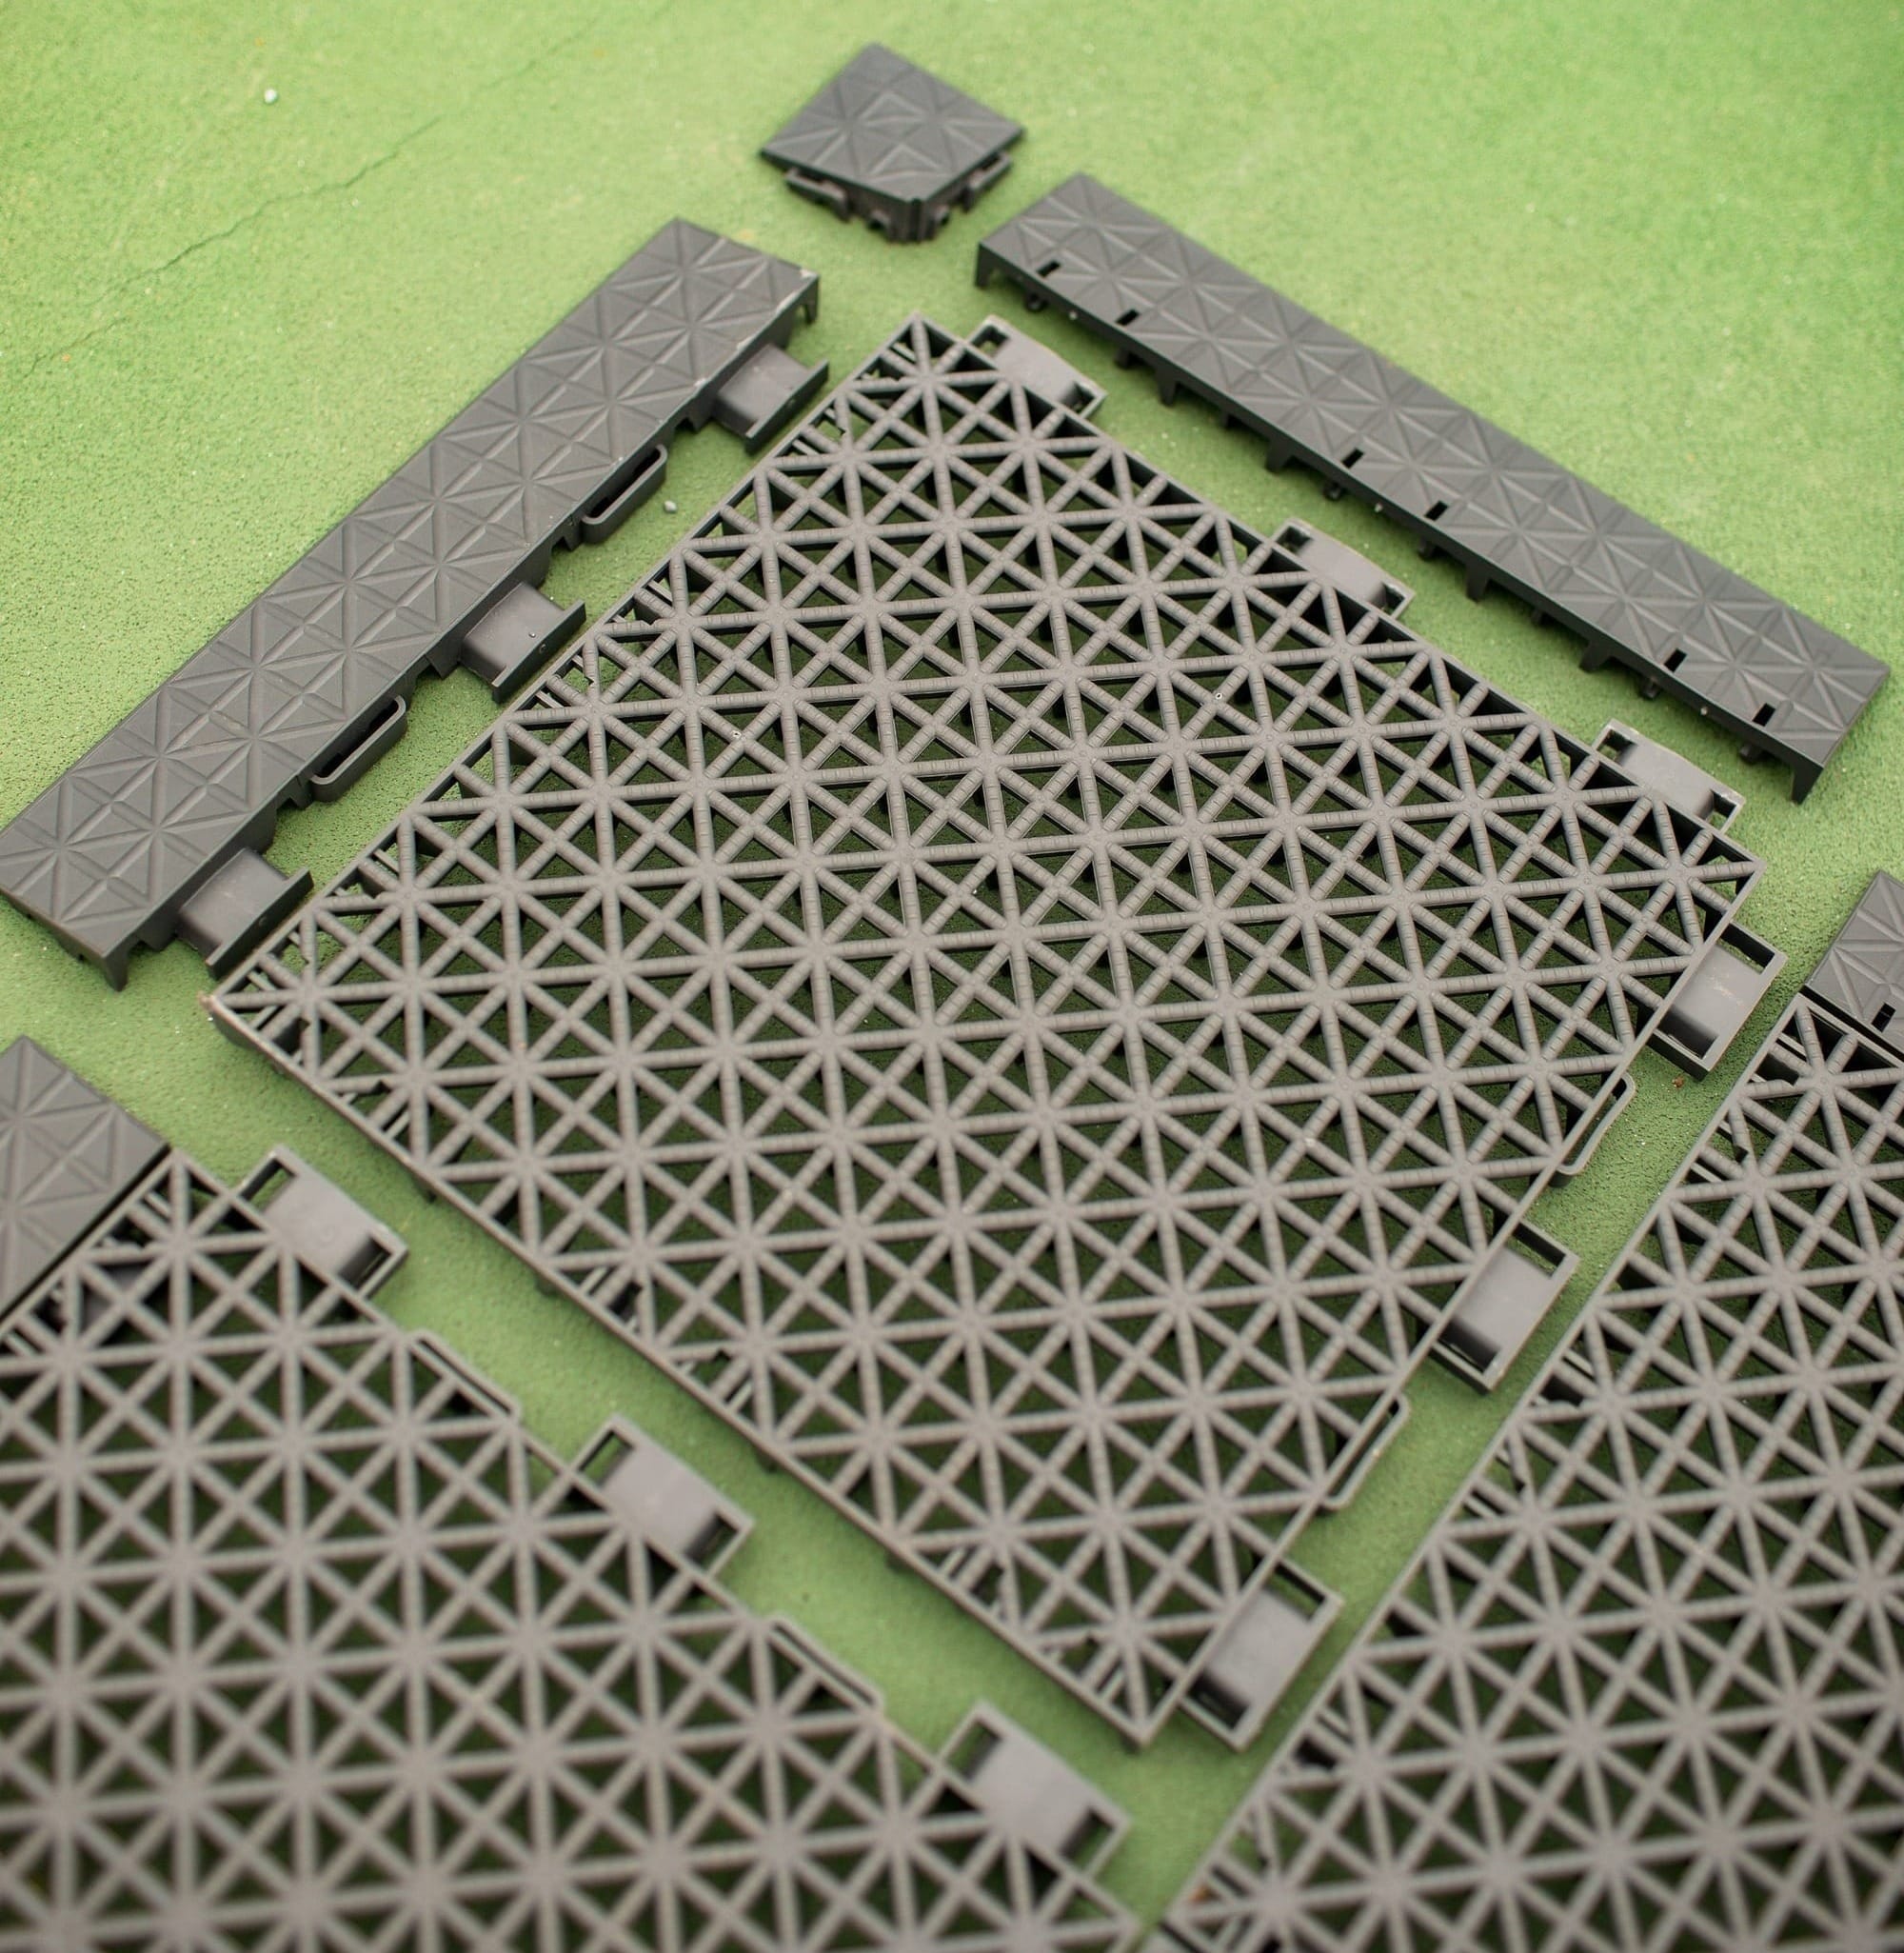
- Modular game court tiles: These tiles are designed for sports surfaces and can be laid over concrete or asphalt. They provide a little more cushion for your joints and give a professional feel to your court.
- Grass or dirt: If you’re looking for a casual setup or don’t want to commit to permanent changes, you can use grass or dirt. Although this option might need an extra subsurface to ensure adequate bounce, it'll deliver the least consistent ball performance.
While it may seem like a completely level surface is ideal, you actually want your court on a 1-degree incline to help with drainage. This slight slope allows water to roll off, preventing puddles and keeping the surface dry. You’ll thank yourself after the first rainstorm!
Step 3: Mark the Court Lines
Once your surface is ready, it’s time to mark out the court lines. You’ll need measuring tape, chalk or painter’s tape for temporary marking, and outdoor paint if you’re going permanent.
- Sidelines: Measure 44 feet long on each side.
- Baselines: 20 feet wide at each end.
- Non-volley zone (kitchen): Mark 7 feet from the net on both sides, parallel to the net.
- Centerline: Split the court in half lengthwise from the baseline to the kitchen line.
To make sure your lines are straight, use a laser level or stretch a string as a guide. And if you want crisp, professional lines, invest in a high-quality outdoor court paint. It’ll last much longer than regular paint.
Step 4: Install the Net
No pickleball court is complete without the net! A standard pickleball net should be 36 inches high at the sides and 34 inches at the center. You have two main options here:
- Permanent net installation: Secure durable net posts into the ground, and your net will be ready whenever you are.
- Portable net: If you want flexibility or have limited space, a portable net is a great option. These are easy to set up and take down, perfect for temporary courts.
Want to Increase the Value of Your Home? Consider Putting in a Pickleball Court
There’s a new trend in the real estate market. Private pickleball courts or access to courts in close proximity are becoming a priority for many prospective buyers.
Step 5: Surface Finishing (Optional)
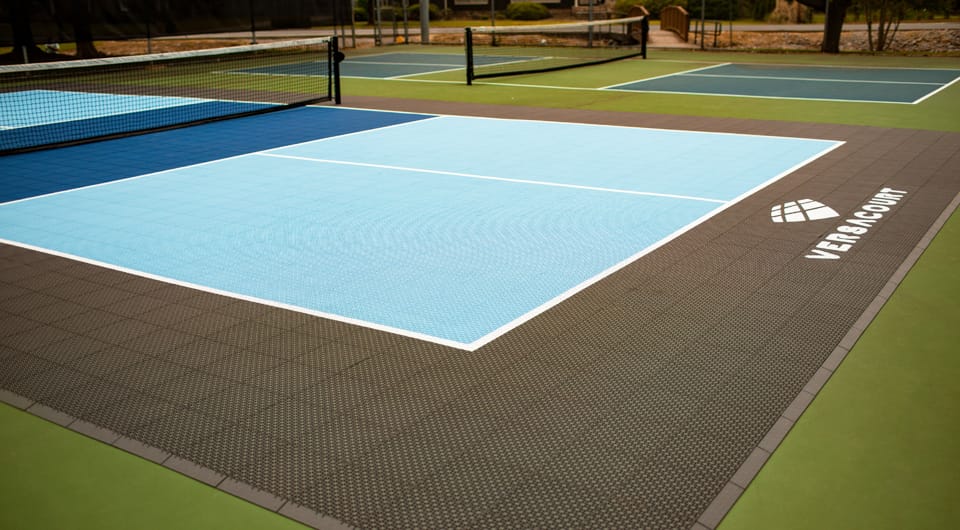
To take your court to the next level, you can finish the surface with acrylic sports court paint. Most professional courts are blue or green, with white boundary lines.
- Non-slip surface: If you’re painting concrete or asphalt, consider a non-slip paint to make the court safer to play on, especially when wet.
Installing outdoor lighting is a game-changer, especially if you love evening games. Solar-powered lights or LED floodlights can extend your playing time well into the night.
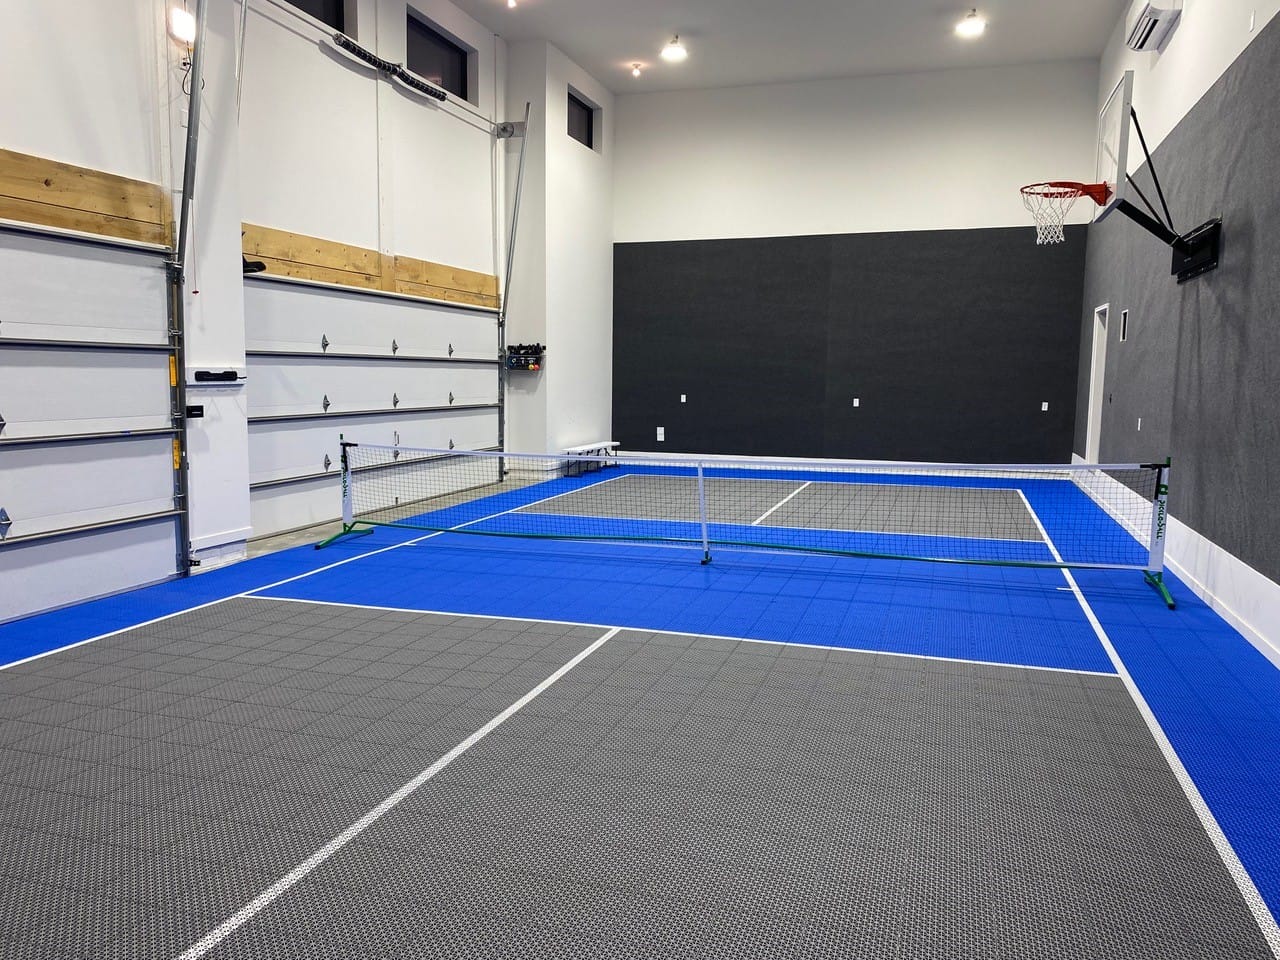
Step 6: Court Accessories (Optional)
Here’s where you can really customize your court:
- Fencing: A fence or netting around the court will prevent balls from flying out of play. Plus, it gives your court that professional look.
- Seating: Add a bench or chairs along the sidelines for breaks between games.
- Storage: Place a small storage shed or hooks nearby for paddles, balls, and other gear.
Step 7: Final Touches and Maintenance
Your court is built, your net is up, and you’re ready to play! Just a few more things to keep in mind:
- Clean the surface regularly: Sweep away dirt and debris to prevent slips and maintain a smooth playing area.
- Repaint as needed: Over time, the lines might fade. Be sure to touch them up when necessary.
- Check the net tension: The net should always be taut, not sagging.
Consider adding a small court maintenance kit with a broom, roller, and extra paint for easy upkeep. This way, your court stays in top condition, and you can focus on playing, not repairs.
How Pickleball Courts Impact Home Values, Real Estate
The impact of nearby pickleball courts on property values sparks ongoing debate, but for many, the sense of community and active lifestyle they foster outweighs any concerns.
Pro Tips: Insider Knowledge for Your Court
- 1-Degree Grade: Your court should be on a slight slope (about 1 degree) to allow water to drain. A perfectly flat court might leave you with puddles after rain, so make sure the water has a way to run off.
- Court Surface Colors: Use contrasting colors for the court surface and lines to make visibility easier during play. Green and blue are common for the court, while white or yellow is often used for the lines.
- Windbreakers and Shade: If your court is in an open area, consider installing windbreakers or even trees to reduce the wind's impact. Shade options like an umbrella or nearby tree can make those hot summer games much more enjoyable!
How VersaCourt makes it easier to build a home pickleball court
When building a pickleball court at home, having the right tools and support makes all the difference. That’s where VersaCourt steps in. With a range of customizable options and professional-grade materials, VersaCourt can turn your vision of a home pickleball court into reality, offering everything from ready-to-assemble kits to custom-designed courts.
Ready-to-Assemble Kits
For a quick and efficient setup, VersaCourt offers two standard sizes of ready-to-assemble kits. These kits come in pre-painted colors and are shipped on standard concrete pads, so you can have your court up and running with minimal hassle. It’s the perfect solution for those who want a professional court without a long wait.
Custom Size Options
If you have a unique space or specific dimensions in mind, VersaCourt can create a custom-sized court that fits your needs. Whether your yard is large, small, or somewhere in between, their team can design the perfect court for your home.
VersaCourt Offers the Perfect Solution for Your Pickleball Court Needs
Looking for a solution for a private pickleball court or are you hosting a pickleball event in the near future? VersaCourt might be your solution.
Need help visualizing your court? VersaCourt’s online court designer tool allows you to design your court from the comfort of your own home. You can experiment with different layouts, colors, and features, making it easier to plan before you begin the building process.
In-House Design Team
Looking to make your court truly yours? VersaCourt has an in-house design team ready to help you personalize your court with custom logos, crests, or unique color combinations. Whether it’s adding your family crest or a team logo, VersaCourt ensures that your court reflects your style.
Lighting Systems for Night Play
Want to keep the games going after dark? VersaCourt offers energy-efficient LED lighting systems to extend your playtime into the evening. These lighting systems provide excellent visibility and help you save on energy costs.
| | Want to advertise with us? | If your company is interested in reaching an audience of active pickleballers, you may want to give us a shout. |
|